Migrating a static Jekyll blog from Google Cloud Platform to Netlify
Introduction
At the time of writing this article, this blog was previously hosted with both Github Pages, and Google Cloud Platform (GCP). Now, it’s time to move on to the next hosting option, Netlify. If you’ve read my previous article on hosting the Dream Capture Co photography website, you’ll know that I’ve recently fallen in love with Netlify as a hosting provider for it’s ease of use, powerful feature set, and fantastic free tier. Now, I’m ready to migrate my personal blog over from GCP.
Github pages
The first hosting for the blog was Github Pages, but I switched from that to GCP since I was having trouble with third-party libraries during the automated build process. More about hosting with Github Pages in this article
GCP
To host this blog on GCP I used a storage bucket to hold all of the site files, and a load-balancer instance to direct my domain name to the storage bucket. I won’t get into the details in this article, but it was quite a lot of configuration work to host a simple static generated site. Not to mention the fact that I have been spending about $18 a month just for the HTTP load balancer to direct traffic to a storage bucket…
Migrating to Netlify
Now it’s time to migrate blog hosting to my new favorite cloud hosting provider. I’ll walk through this process step by step:
1. Create Project
- From the Netlify Console, click on
Add new siteand selectImport an existing project - Select
Deploy with GitHub
- Select the repository for the site from the list
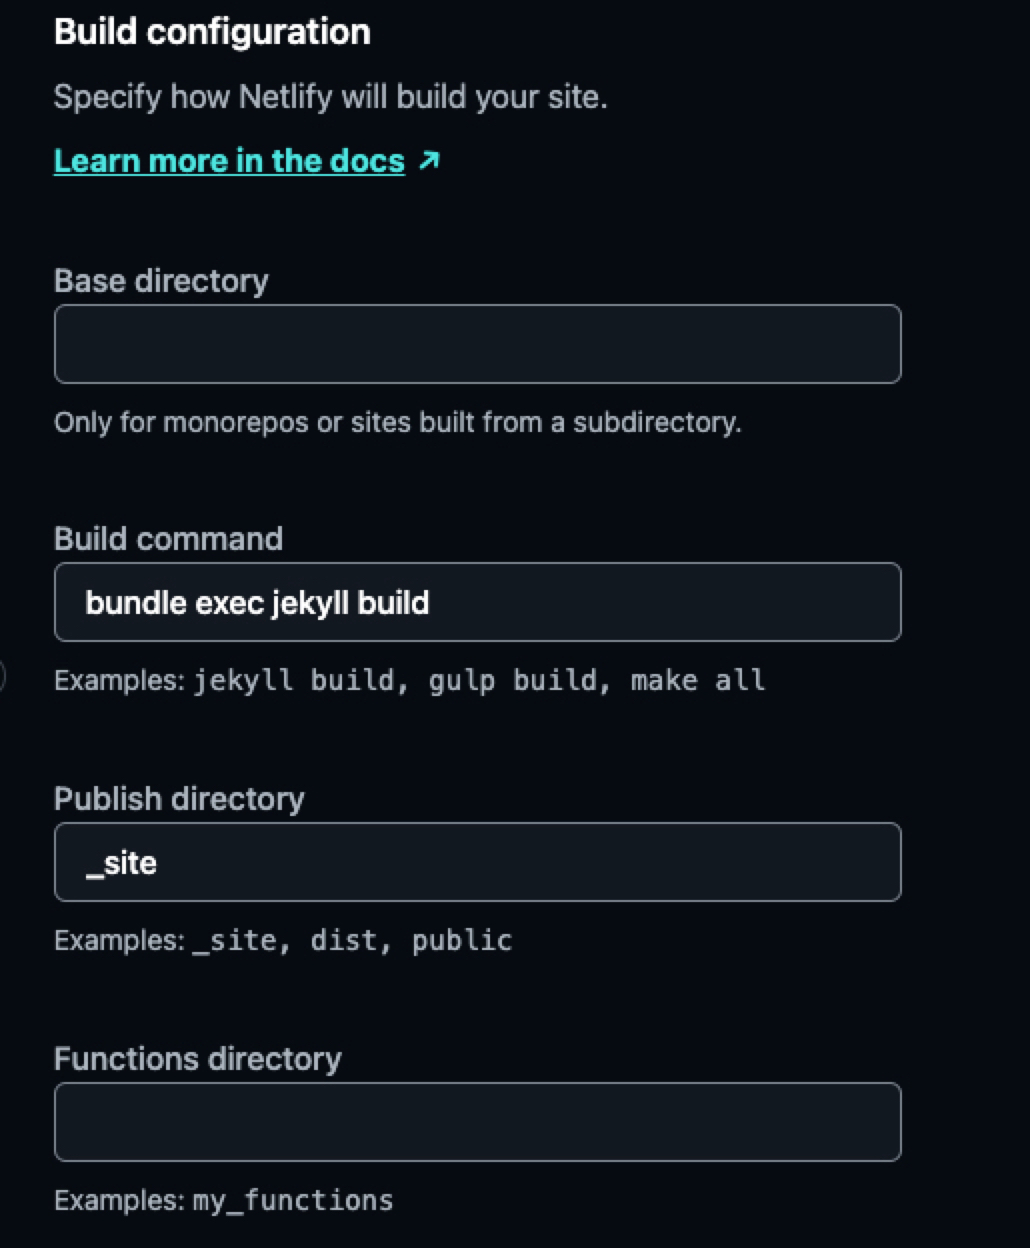
- Ensure that the deployment configuration is correct - Netlify is able to automatically identify that the site is a Jekyll project, and automatically fills out the appropriate configuration fields. If the filed do not auto-populate, ensure that Build command is set to
bundle exec jekyll buildand Publish directory is set to_site(id using default jekyll configuration) - Click
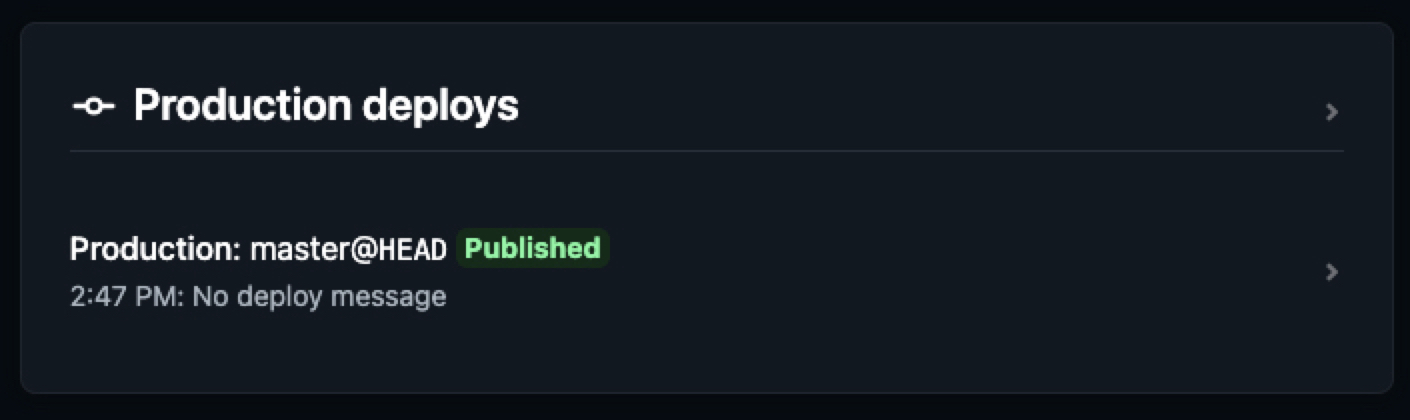
Deploy blogto start the first deployment - Wait for the deployment to complete. You can click on a deployment in the list to see it’s details

2. Add Domain
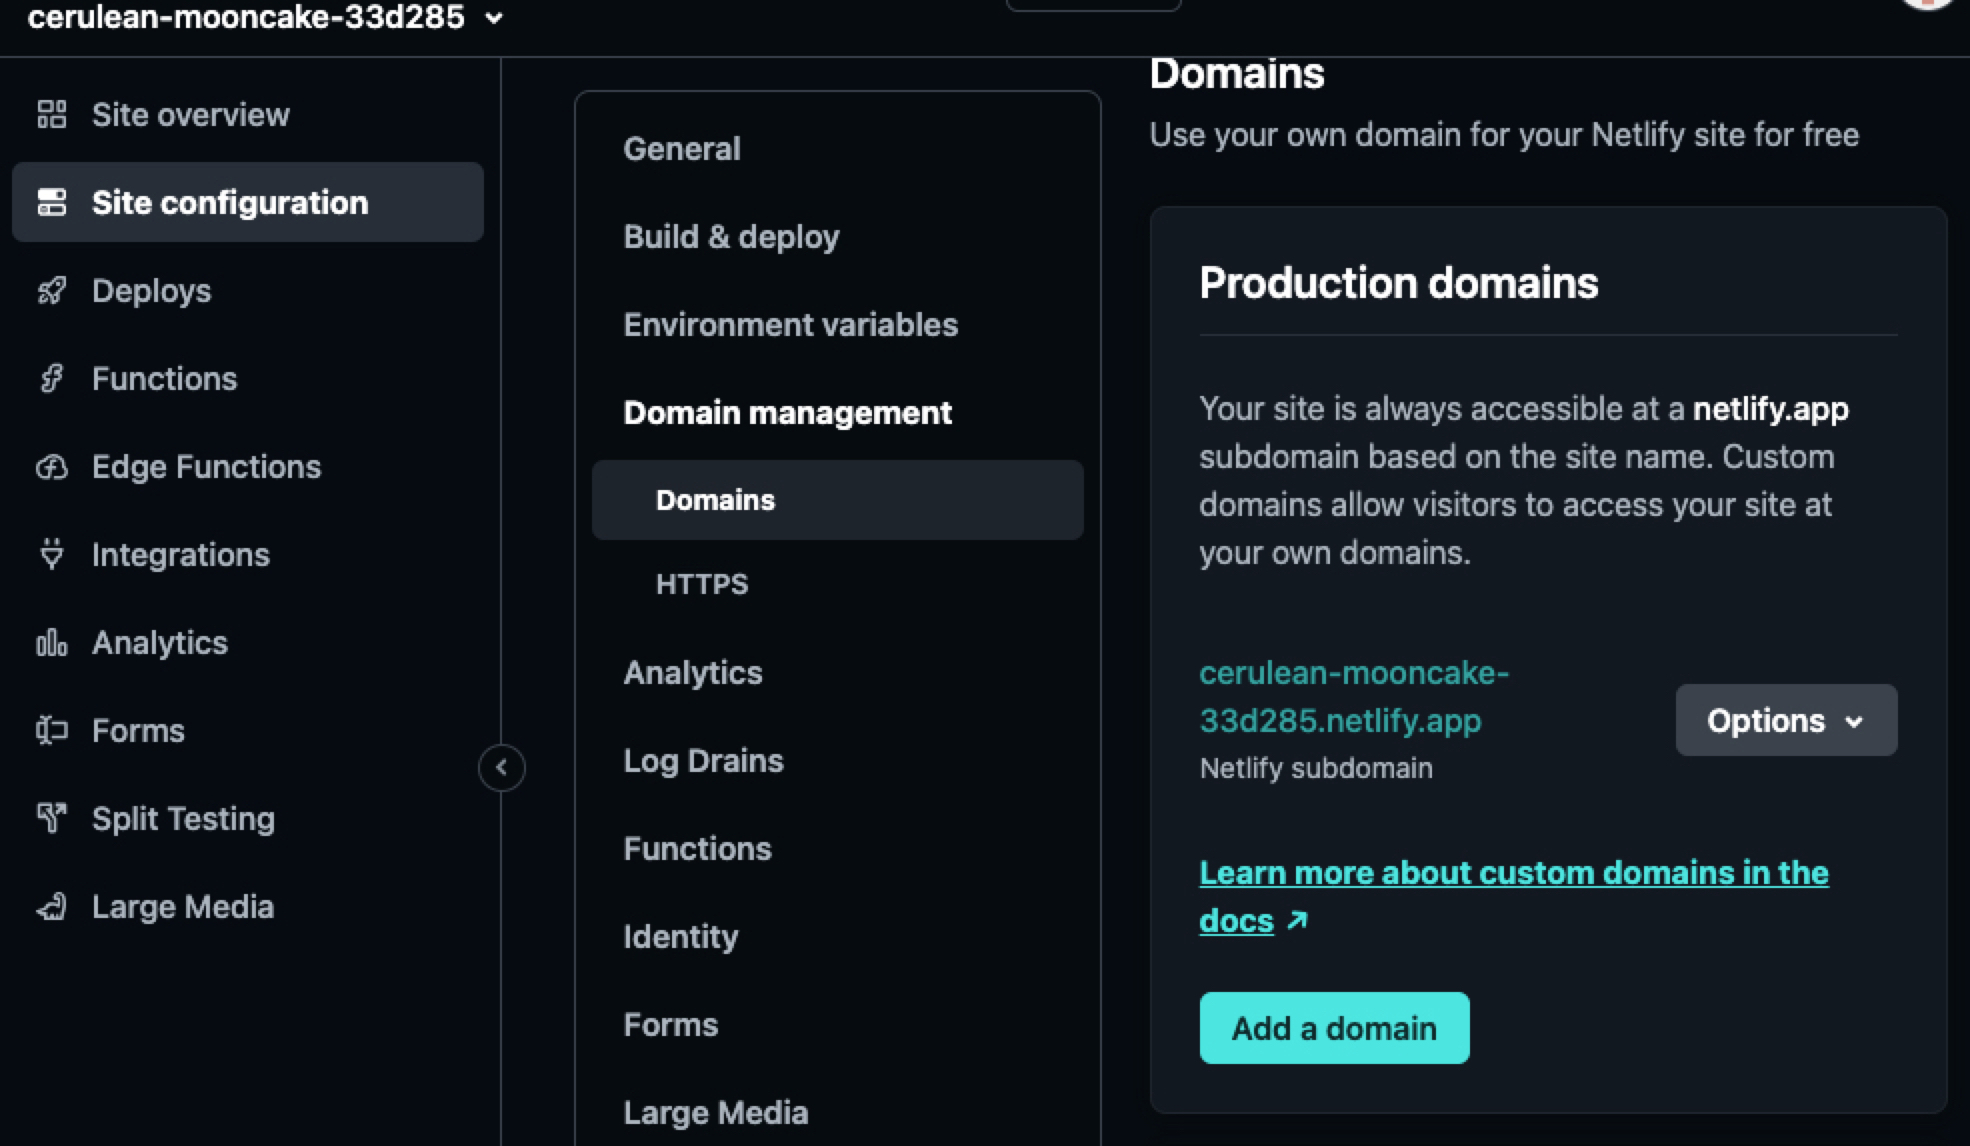
After the deployment is finished, it’s time to set up the custom domain name.
- Go to
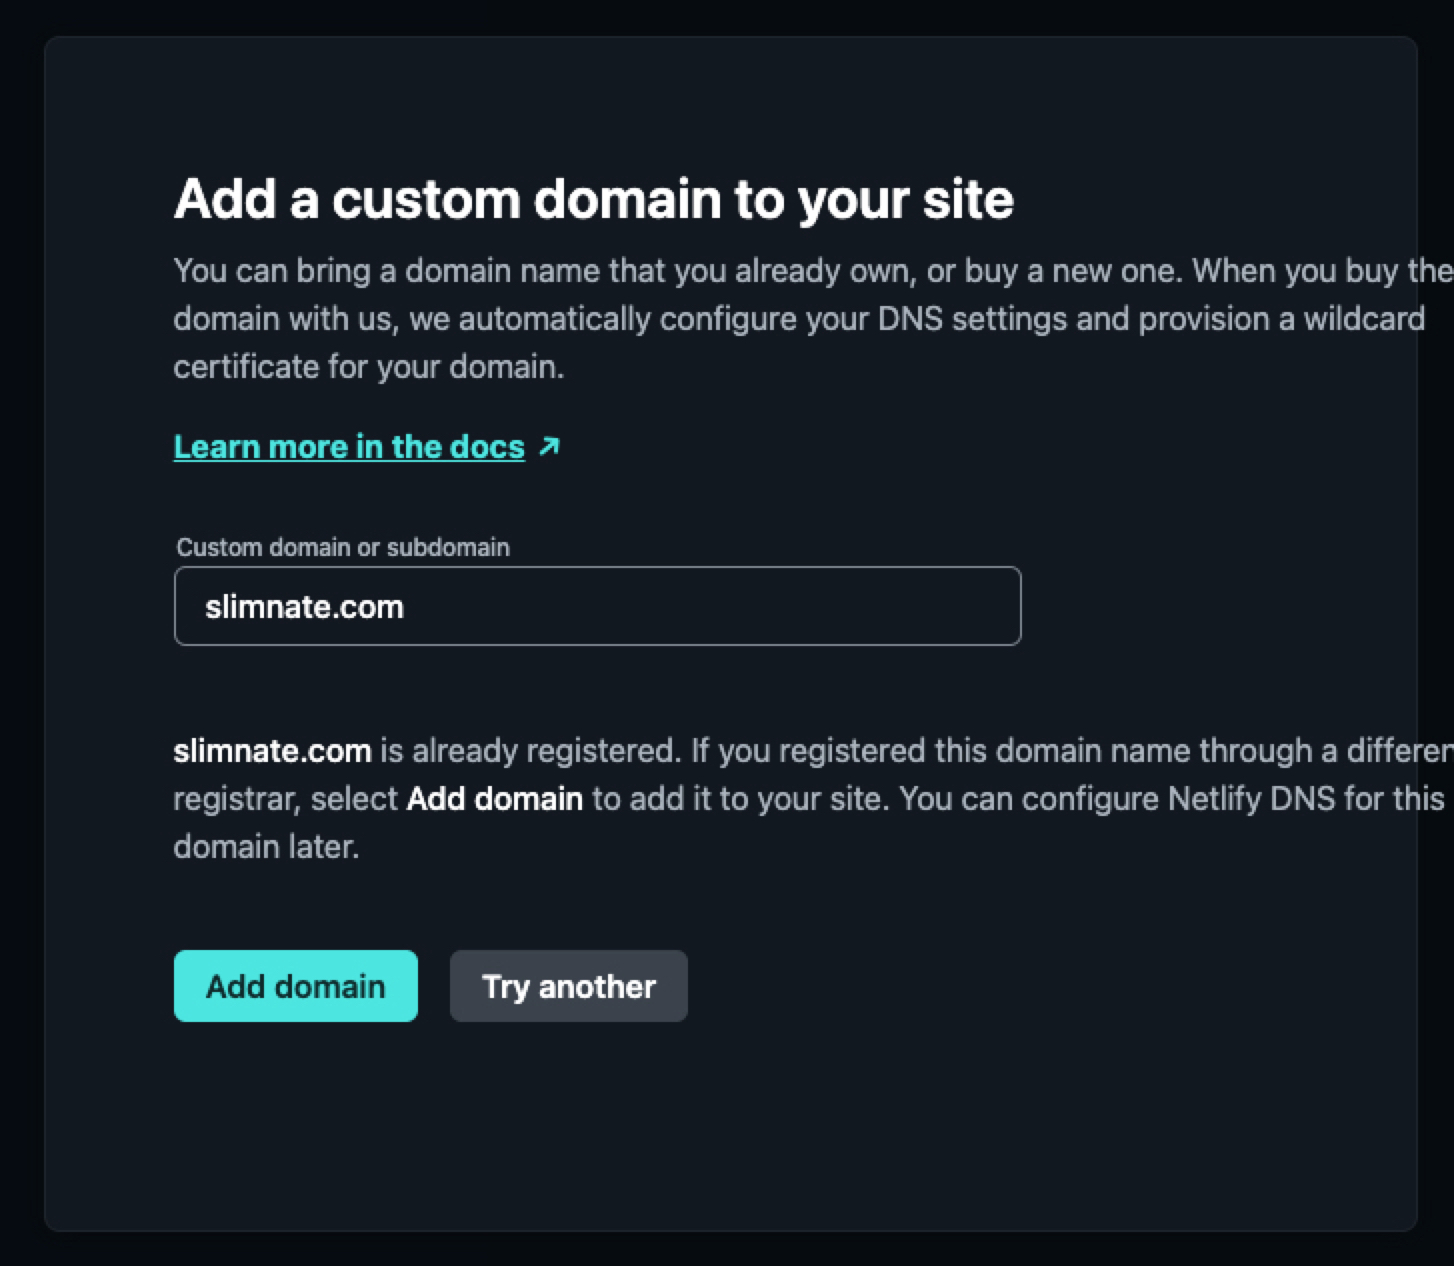
Site configuration->Domain Management, and click onAdd a Domain - Enter the custom domain and click
Verify- if the domain was purchased through another provider, you will have to clickAdd domainand then complete additional steps to update external DNS entries.
3. Configure Netlify DNS
I bought my domain from Namecheap, so I’ll have to use the Namecheap dashboard to update my DNS nameservers to point to Netlifys nameservers.
- In the Namecheap console, click
Managefor the domain name, and select theDNStab. - Change nameservers option to
Custom DNS, and add all the nameservers provided by Netlify. - Verify the DNS entries on Netlify:

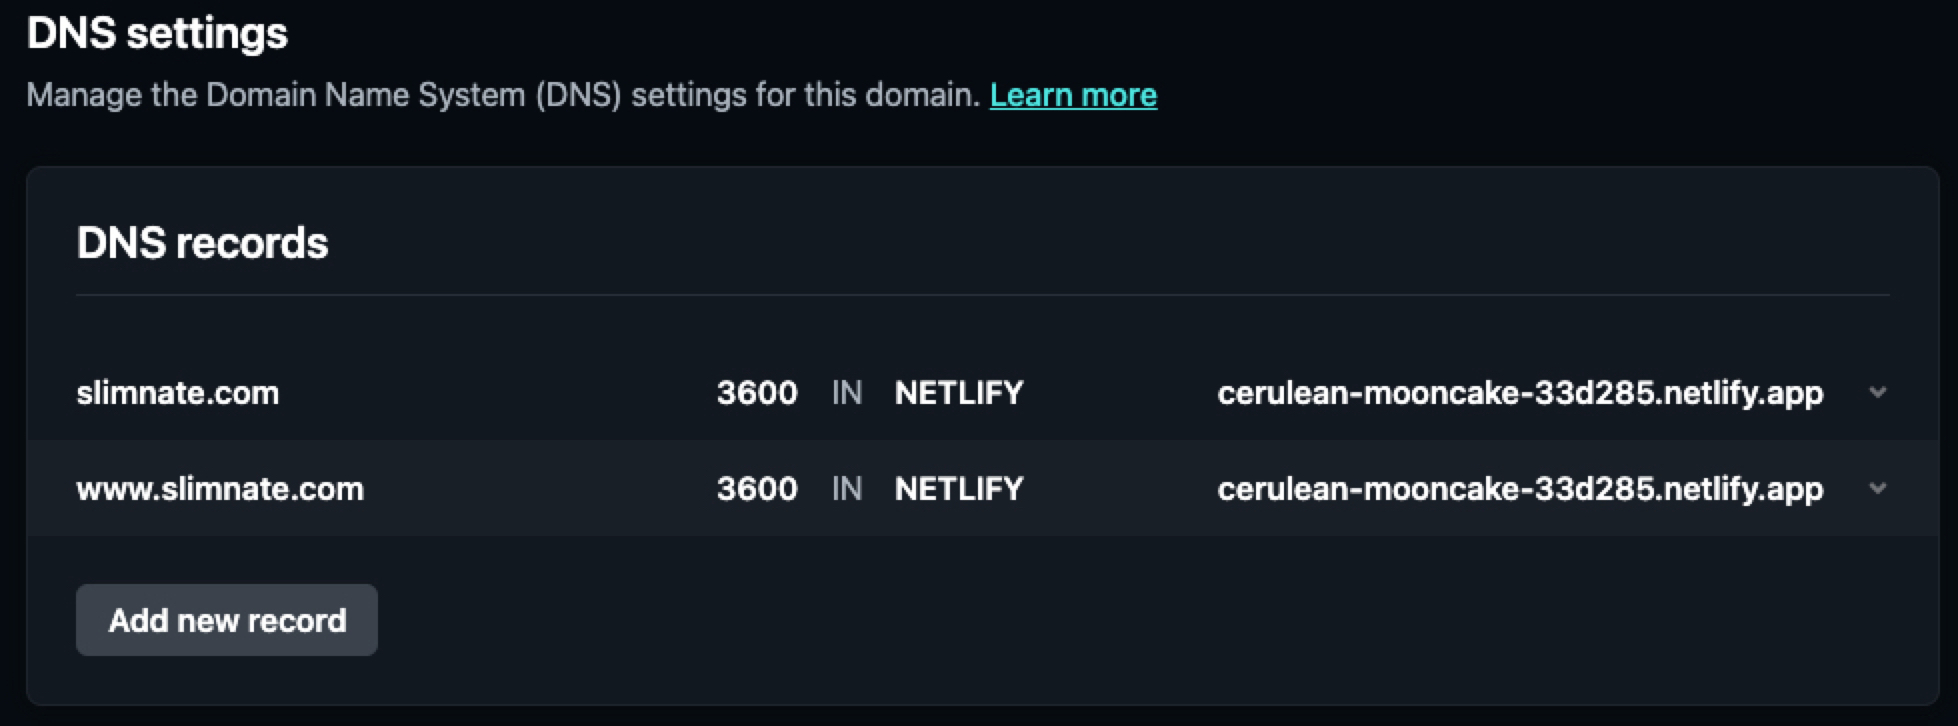
Verify site
Visit both the TLD and any sub-domains configured, and ensure that they load properly.